Distance is one of the most important parts of putting. It is actually more important than having proper direction. If the ball isn’t coming close to the hole…your direction is going to help that much. Therefore practicing your distance can be extremely important.
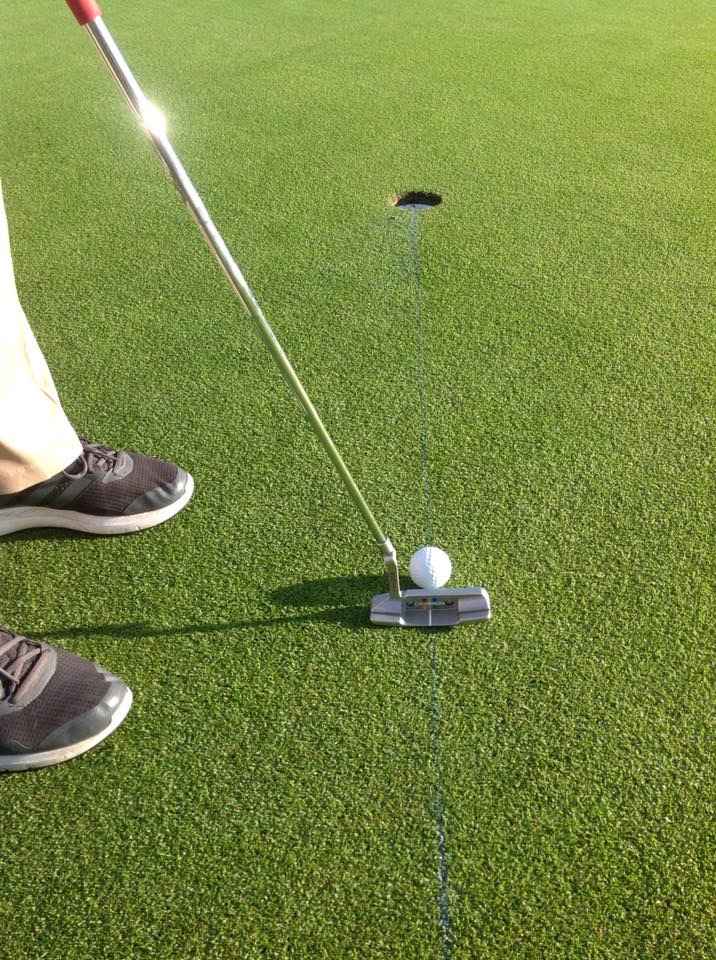
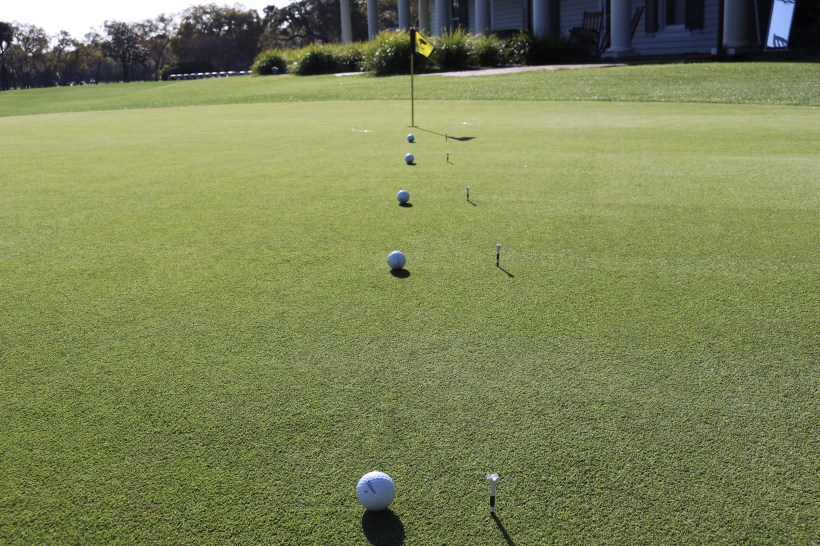
Here is a great drill to practice. Walk off 3ft, 6ft, 9ft, 12ft, and 15ft. You can place tees in the ground to mark these distances (see pic above). Now practice putting each distance. Concentrate on how far your putter is going back at each distance. Use your feet as a reference point. Most of the time for myself around 15ft I am taking my putter toe to toe. Therefore when I get on the golf course I have a reference on how big my stroke should be according to the distance away from the hole. Practice and then as a challenge you can play this game to see if you have improved. The game would be two putting from every putt. If you miss one, you have to start all over again: closest to longest. This way you get to practice the short putts even more! Also, you can change the distances of the tee such as every 6ft!
**Greens differ with different courses so make sure you are practicing this drill on the green you are playing or at least changing your distances if the greens are faster or slower